Getting Started with LogicPlot
LogicPlot needs no account and no installation. This page takes you from opening the simulator to saving your first circuit.
Launch the Simulator
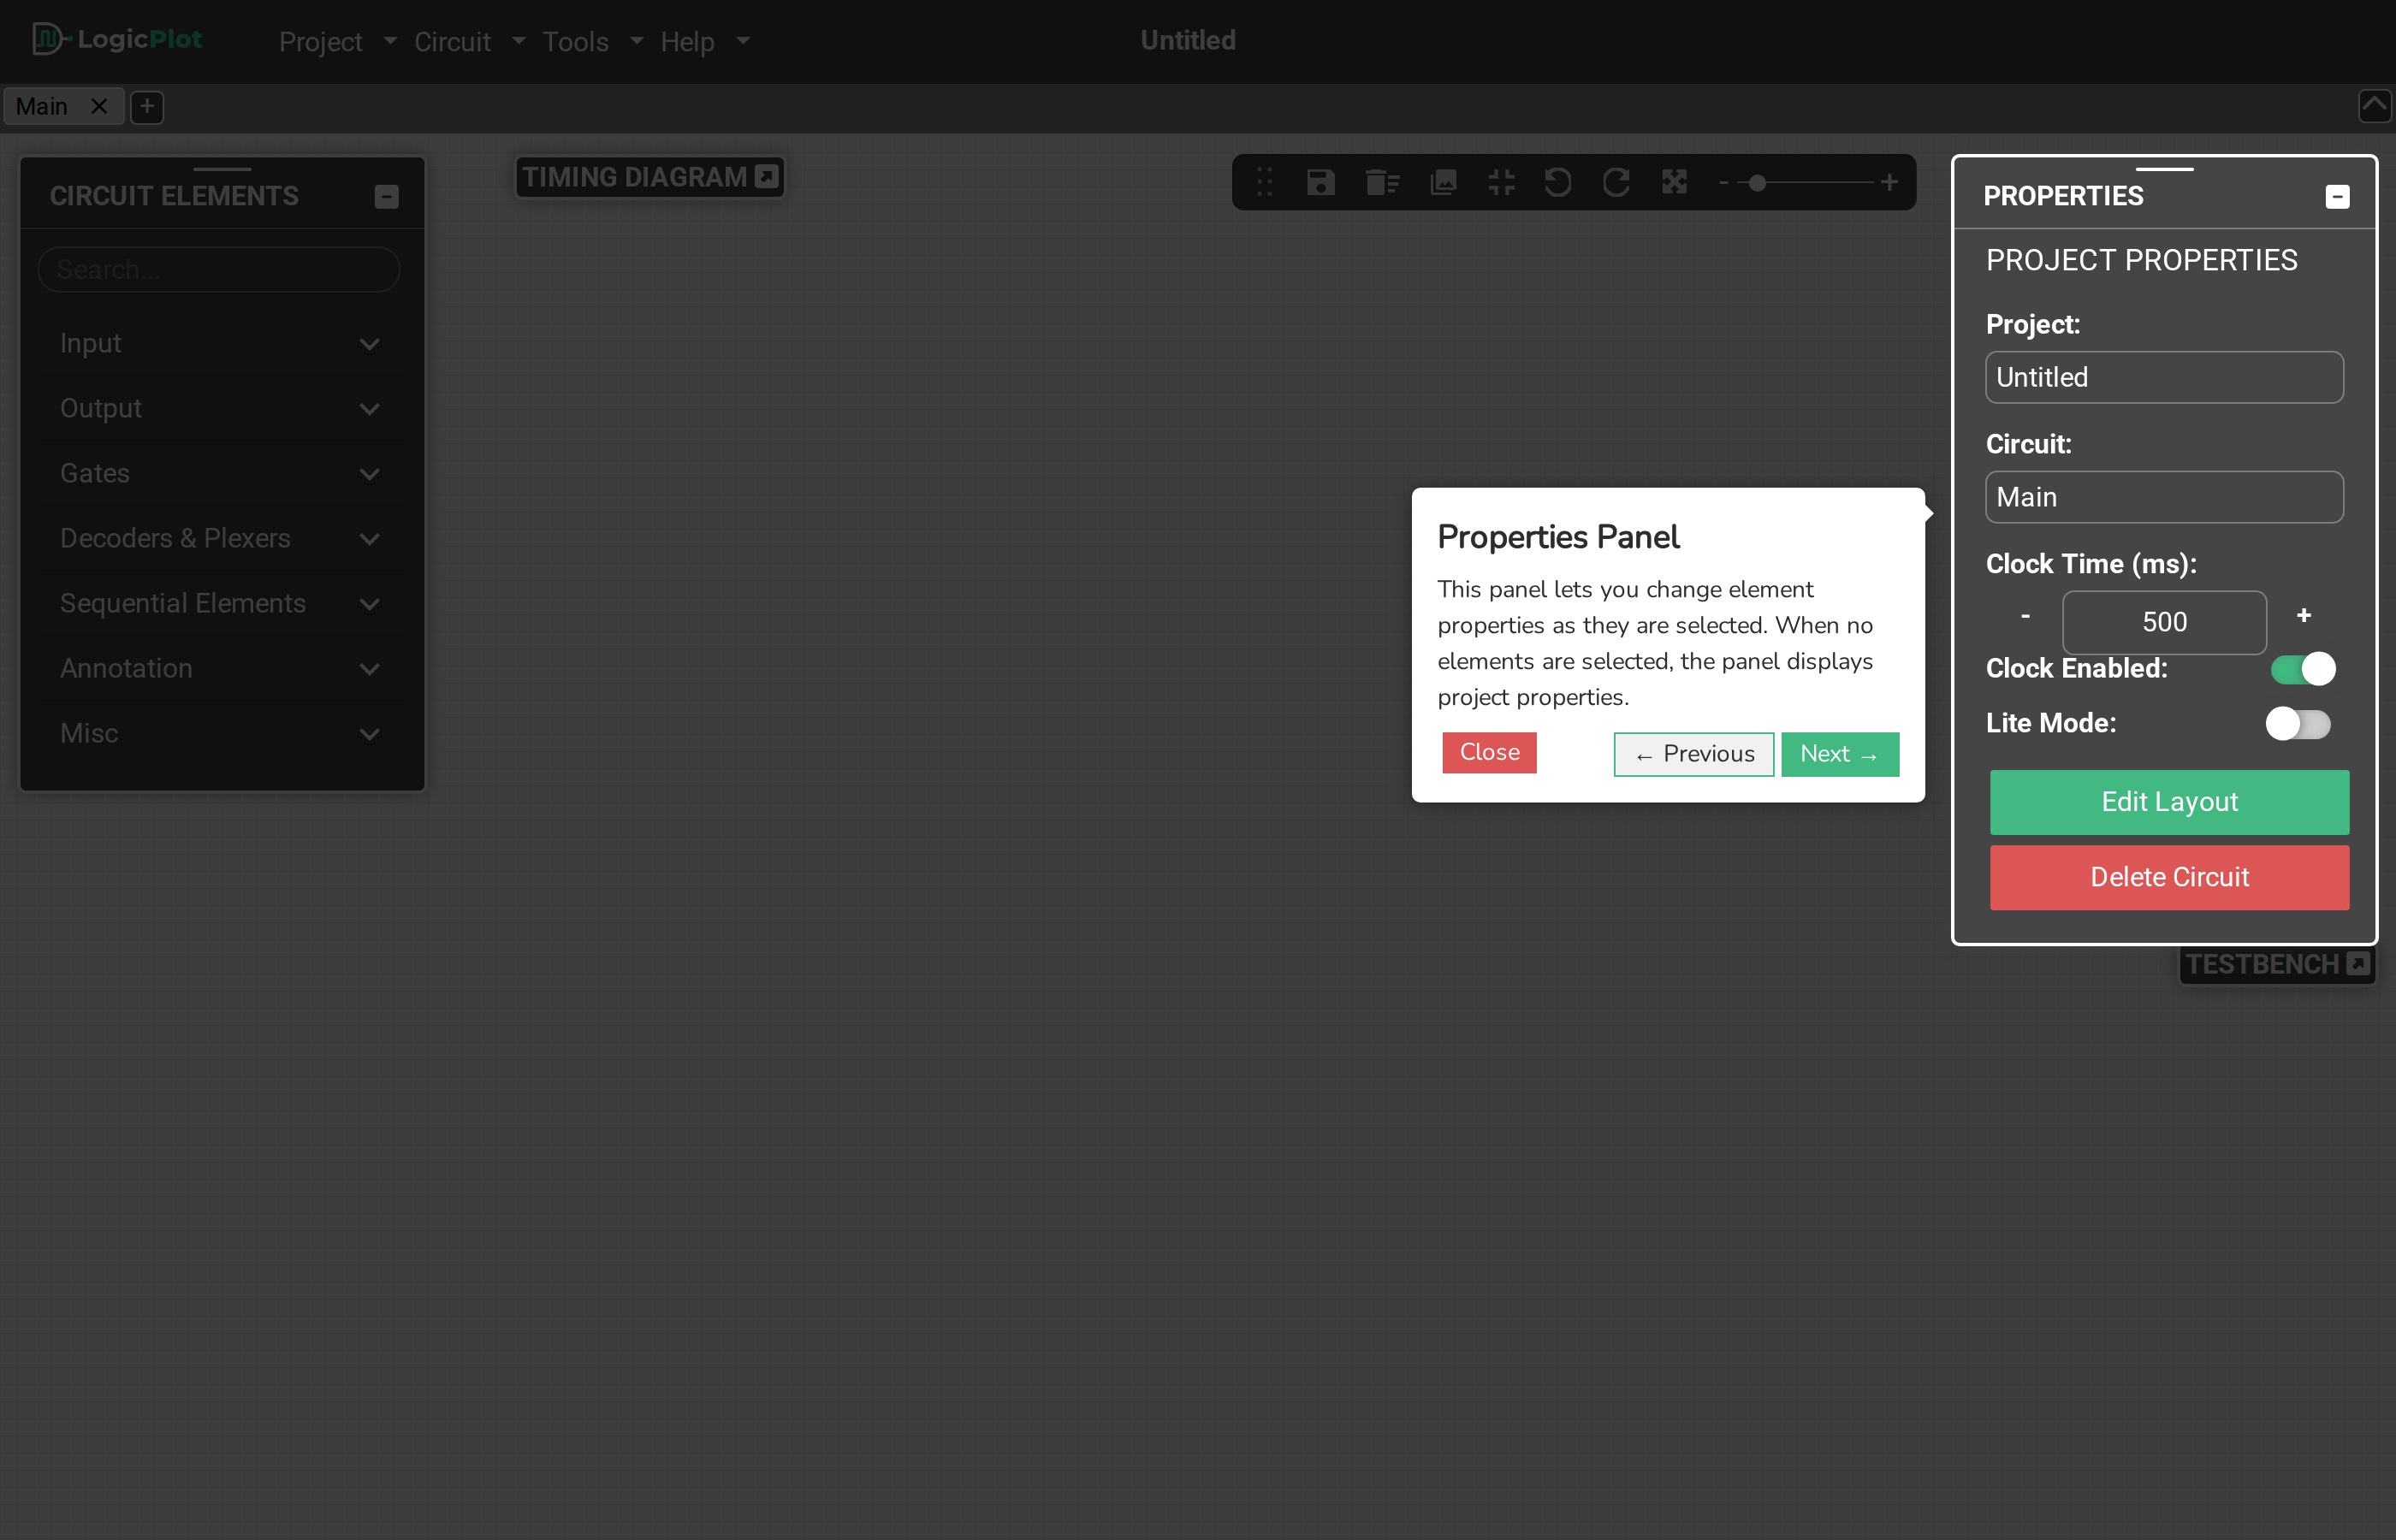
Open the simulator from the Launch Simulator button on the LogicPlot home page, or go directly to /simulator/. The first time it opens, a short guided tour introduces each part of the interface (refer Figure 2.1). Use Next to step through it or Close to skip it; you can restart it at any time from Help → Tutorial Guide.
Build a First Circuit
- In the CIRCUIT ELEMENTS panel, expand Input and click Input to pick up an input element, then click on the canvas to drop it. Add a second Input.
- Expand Gates and drop an AND gate to the right of the inputs.
- Expand Output and drop an Output element to the right of the gate.
- Wire the elements: click on the small node at the right of the first input and drag to the top input node of the AND gate. Repeat for the second input, and from the gate's output node to the output element.
- Click an input element to toggle it between 0 and 1 and watch the output follow (refer Figure 2.2). Wires are colour-coded: bright green carries a 1 and dark green a 0.

Select any element to see and edit its properties, such as its label, bit width or orientation, in the PROPERTIES panel. Chapter 3 describes every part of the interface and Chapter 4 documents every circuit element.
Save and Reopen Your Work
LogicPlot keeps projects on your own machine in two ways.
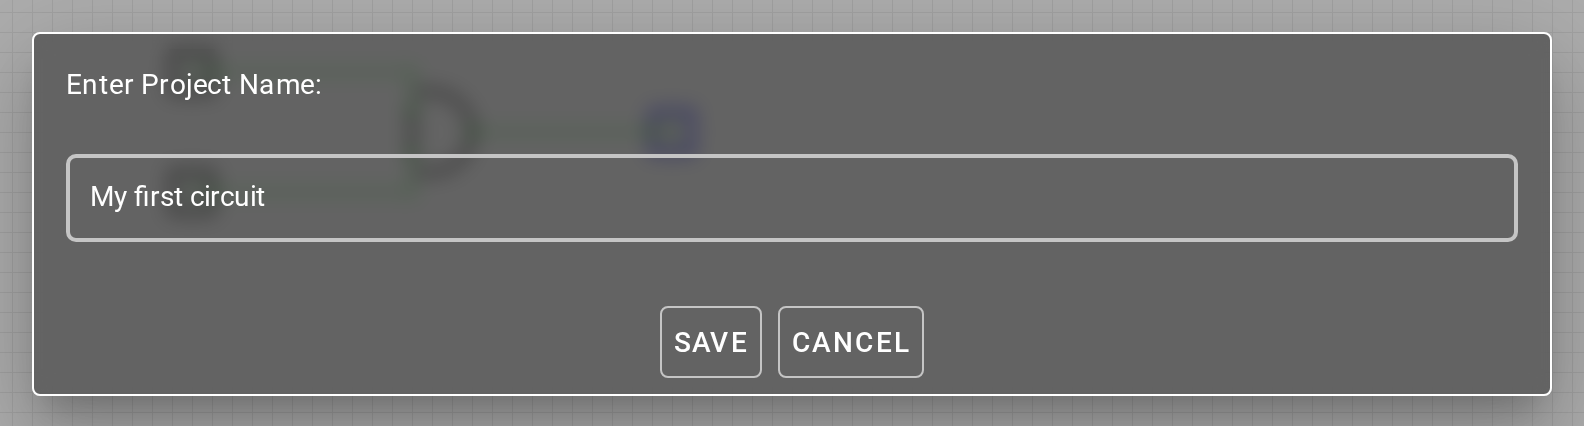
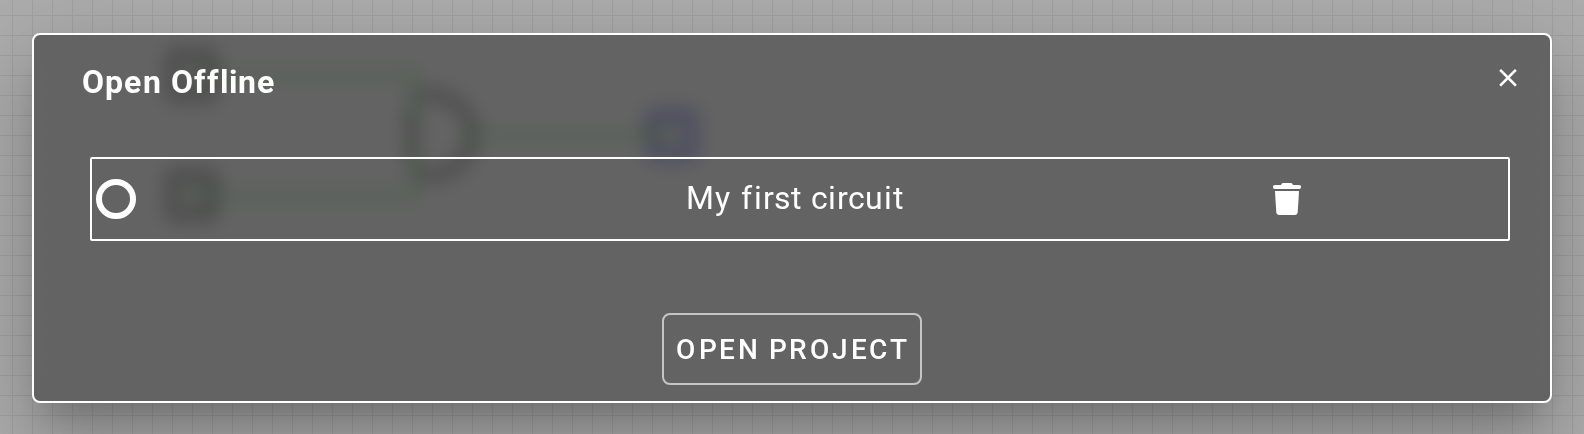
Browser storage. Choose Project → Save Offline (or press Ctrl + S) and enter a project name (refer Figure 2.3). The project is stored in your browser's local storage and listed under Project → Open Offline (refer Figure 2.4). Projects saved this way stay in the browser they were saved in.
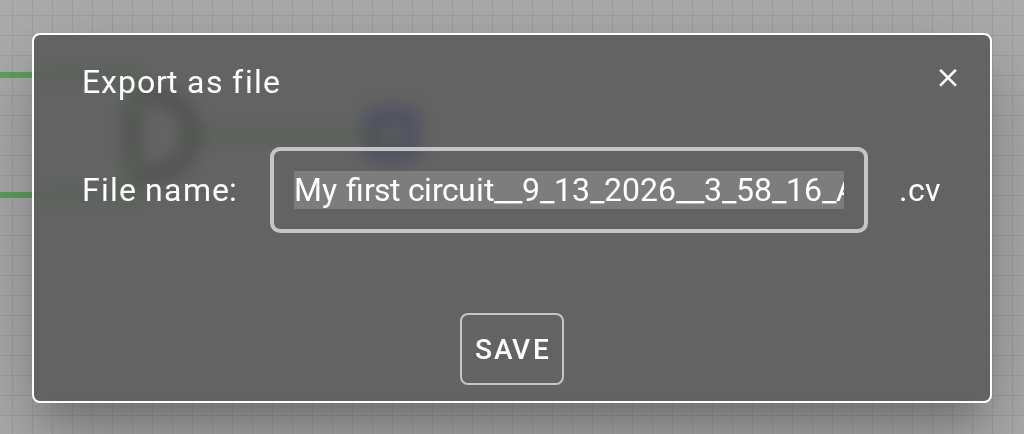
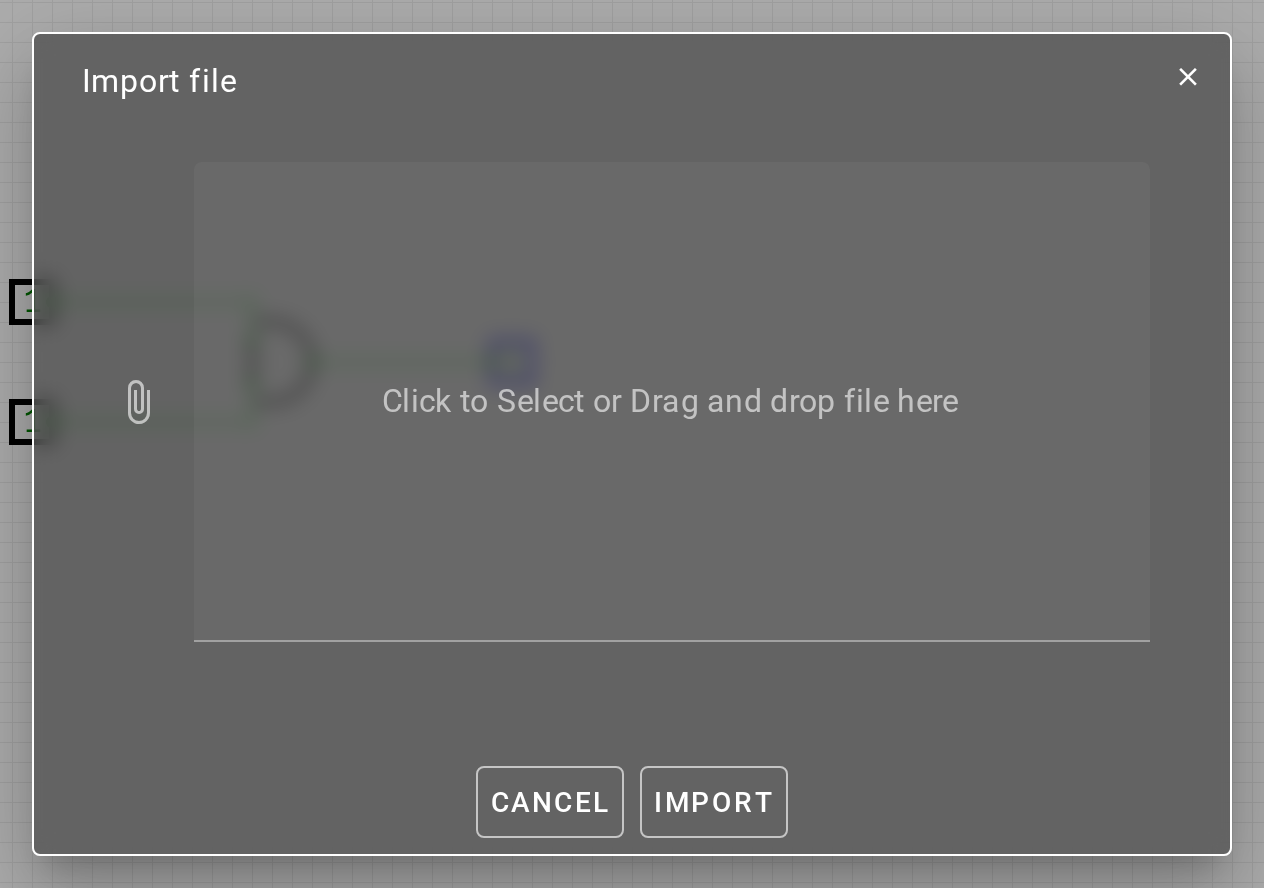
Project files. Choose Project → Export as File to download the project as a .cv file (refer Figure 2.5). Files can be backed up, shared or committed to version control, and loaded again on any machine with Project → Import Project (refer Figure 2.6).
The simulator also keeps a rolling backup of the circuit you are working on. If the page is closed unexpectedly, Project → Recover Project restores it.
Next Steps
- Sharing and exporting explains how to export images of your circuits.
- Best practices collects tips for building larger designs.
- Keyboard shortcuts lists every shortcut, all of which can be customised from Tools → Custom Shortcut.